


Windows is one of the most reliable operating systems available, but even it can develop problems after months or years of use. Failed updates, corrupted system files, interrupted installations, and unexpected shutdowns can all affect how the operating system performs. When these issues appear, many users assume they need to reinstall Windows, but that’s often unnecessary.
Microsoft includes a built-in command-line utility called DISM (Deployment Image Servicing and Management) that can repair many operating system problems without deleting your personal files. Although it was originally created for IT professionals who manage Windows images, it has become a valuable troubleshooting tool for everyday users as well.
This guide explains how to use the most important commands, when each one should be used, and the best practices for repairing Windows safely. Whether you’re trying to resolve Windows Update failures or repair damaged system components, understanding this utility can save you time and prevent unnecessary reinstalls.
What Is DISM?
Deployment Image Servicing and Management is a Microsoft utility designed to service, prepare, and repair Windows images. It is included with modern versions of Windows, including Windows 10 and Windows 11, so no additional software needs to be installed before using it.
The tool works by checking the integrity of the Windows image stored on your computer. This image contains many of the files the operating system relies on when repairing itself. If those files become damaged, other repair tools may not work correctly because they no longer have a healthy source from which to restore corrupted files.
Because it operates directly on the Windows image, this utility has become one of Microsoft’s recommended troubleshooting methods for repairing operating system corruption. In many situations, running a few commands is enough to restore stability without reinstalling Windows or losing personal data.
Why This Tool Is Important
Many Windows repair methods only fix symptoms instead of addressing the actual cause of the problem. For example, if protected system files become corrupted, replacing them may not solve anything if the underlying repair source is also damaged.
This is where Microsoft’s image servicing utility becomes especially useful. It repairs the component store that Windows relies on during future repairs. Once that source has been restored, additional repair tools can work properly again.
Another major advantage is convenience. Since the utility is already included with Windows, you don’t need to download third-party repair software or worry about compatibility issues. Everything required to perform advanced repairs is already available on your computer.
When Should You Use It?
Most users don’t need to run repair commands regularly. However, there are situations where they become extremely valuable. One common example is repeated Windows Update failures that continue even after restarting the computer several times.
Another situation occurs when Windows features refuse to install or uninstall correctly. Missing or corrupted component files often prevent optional features from functioning properly, and repairing the Windows image can restore those missing resources.
It’s also common to use this utility after the System File Checker (SFC) reports that it found corrupted files but couldn’t repair all of them. Since SFC depends on a healthy component store, repairing that store first often allows the remaining damaged files to be restored successfully.
Opening an Elevated Command Prompt
Before running any repair commands, you’ll need administrator privileges. Without elevated permissions, many commands either fail completely or cannot make changes to protected Windows components.
The easiest method is to search for Command Prompt in the Start menu, right-click it, and choose Run as administrator. Windows 11 users can also open Windows Terminal (Admin) from the Start menu or by right-clicking the Start button.
Once the administrator window opens, you’re ready to begin. Carefully type each command exactly as shown, or copy and paste it to avoid syntax errors. Even small typing mistakes can cause commands to fail.
The Three Most Important Commands
Although Microsoft’s documentation includes many options, most home users only need three primary commands to diagnose and repair Windows image problems.
The quickest command is:
DISM /Online /Cleanup-Image /CheckHealthThis command checks whether corruption has already been detected in the Windows image. Since it only reads existing status information, it usually finishes within a few seconds and provides a quick overview of system health.
For a more complete examination, use:
DISM /Online /Cleanup-Image /ScanHealthUnlike the previous command, this performs a detailed scan of the Windows component store. Because every relevant file is examined, the scan may take several minutes depending on your hardware.
When corruption is found, repair it using:
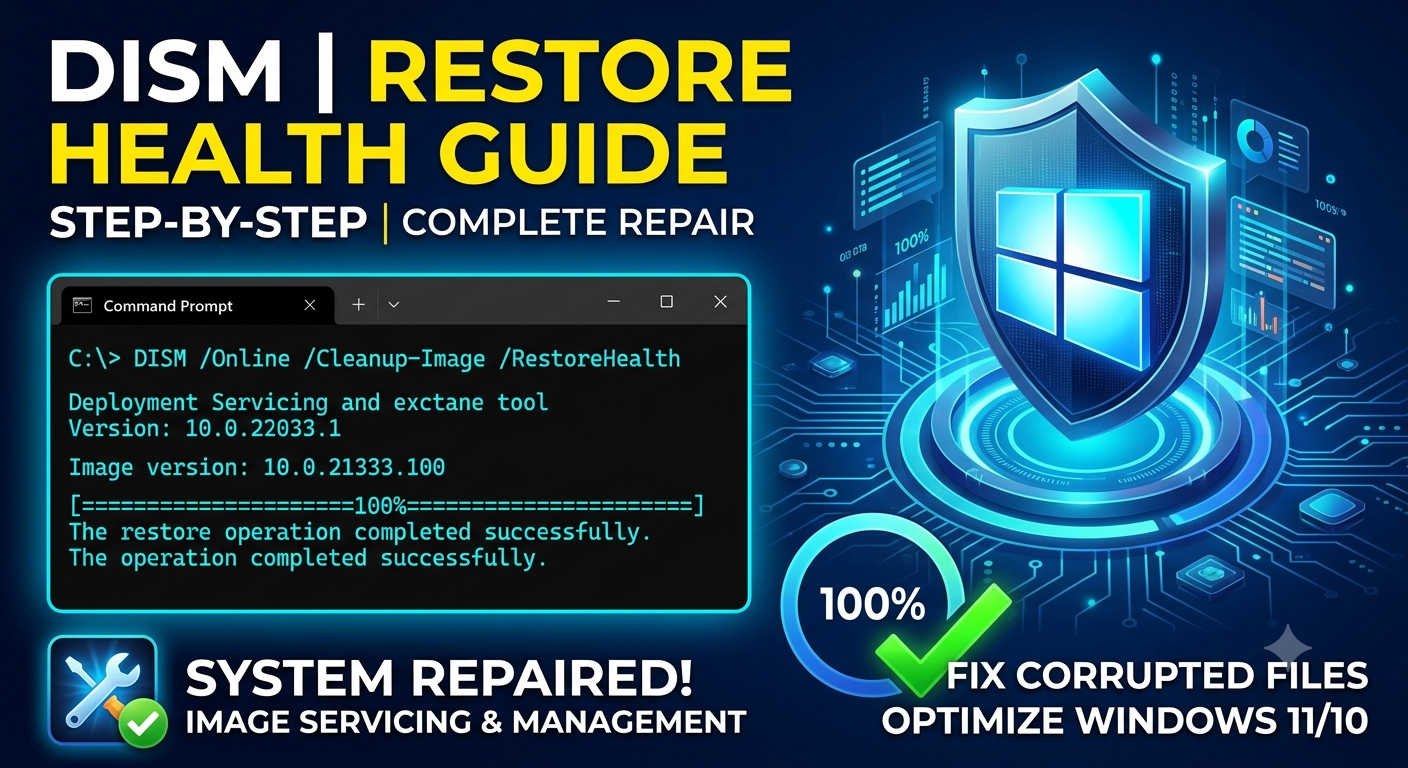
DISM /Online /Cleanup-Image /RestoreHealthThis command attempts to replace damaged files automatically. By default, Windows Update is used as the repair source whenever replacement files are required.
Understanding What Each Command Does
Although the three commands look similar, they perform different tasks and should be used accordingly.
CheckHealth is essentially a quick diagnostic tool. It tells you whether corruption has already been recorded but doesn’t perform a new scan. It’s ideal when you simply want a fast status check.
ScanHealth performs a much deeper analysis by inspecting the component store for corruption. While it requires more time, it provides a much clearer picture of the operating system’s overall condition.
Finally, RestoreHealth actively repairs problems that were discovered during earlier scans. It compares damaged components with healthy versions and replaces files whenever necessary. In many cases, this single command resolves persistent Windows issues.
Using It Together with System File Checker
One of the biggest misconceptions among Windows users is that they must choose between Microsoft’s image servicing utility and System File Checker. In reality, these tools complement each other and often work best when used together.
The image repair utility focuses on repairing the Windows component store, while SFC repairs protected operating system files. Since SFC uses the component store as its repair source, fixing that source first increases the chances of a successful repair.
For that reason, Microsoft and many experienced administrators recommend running the repair command first:
DISM /Online /Cleanup-Image /RestoreHealthOnce it finishes successfully, run:
sfc /scannowFollowing this sequence allows System File Checker to replace damaged files using healthy copies, resulting in a more complete repair.
Problems This Utility Can Solve
This built-in tool is capable of resolving a wide variety of Windows problems. One of the most common is repeated Windows Update failures caused by corruption inside the component store.
It can also help repair damaged operating system files that cause applications to crash, Windows features to stop working, or error messages to appear unexpectedly. In many situations, users who were preparing to reinstall Windows discover that a repair command resolves the issue completely.
IT professionals also rely on this utility when preparing Windows installation images for deployment across multiple computers. By updating and servicing images before installation, organizations can save considerable time while ensuring every computer starts with the latest updates and configurations.
Using a Windows ISO as the Repair Source
Although Windows normally downloads replacement files through Windows Update, that isn’t always possible. Some computers have no internet connection, while others experience Windows Update issues that prevent the repair process from completing. In these situations, a Windows ISO file provides an excellent alternative source for healthy system files.
Begin by downloading an official Windows ISO that matches the version, edition, and language installed on your computer. After the download finishes, double-click the ISO file to mount it. Windows automatically creates a virtual DVD drive with its own drive letter, which you’ll reference in the repair command.
If the mounted drive contains an install.wim file, you can use a command similar to the following:
DISM /Online /Cleanup-Image /RestoreHealth /Source:wim:D:\sources\install.wim /LimitAccessReplace D: with the correct drive letter assigned to your system. If your installation media uses install.esd instead, simply substitute the appropriate filename. Using a local source is often faster and avoids problems caused by unavailable Windows Update servers.
Repairing an Offline Windows Installation
One of the features that makes Microsoft’s image servicing utility especially powerful is its ability to repair Windows installations that are currently offline. This capability is particularly valuable when a computer cannot boot into Windows normally.
Administrators often service offline images before deploying Windows across dozens or even hundreds of computers. They can add drivers, integrate updates, enable optional features, or remove unnecessary components before installation, reducing setup time later.
Home users can also benefit from offline servicing. If Windows becomes unbootable, you can start the computer using Windows Recovery Environment or installation media, access Command Prompt, and repair the offline installation without wiping your files. In many situations, this approach restores a system that would otherwise require a complete reinstall.
Common Errors and Their Solutions
Even though this repair utility is highly reliable, users occasionally encounter error messages. Fortunately, many of these problems have straightforward solutions that don’t require advanced technical knowledge.
One of the most common errors is “The source files could not be found.” This usually means Windows couldn’t locate healthy replacement files. Mounting the correct Windows ISO and specifying it with the /Source parameter generally resolves the issue.
Another frequently reported problem is Error 87, which almost always points to incorrect command syntax. Missing spaces, misspelled switches, or incorrect punctuation can all trigger this message. Carefully reviewing the command usually solves the problem.
Some users also worry when the repair process appears frozen at percentages like 20%, 40%, or 62%. In many cases, the utility is still actively processing files behind the scenes. Unless there are clear signs the system has stopped responding entirely, it’s usually best to let the process finish naturally.
Best Practices for Successful Repairs
Although repairing Windows is generally safe, following a few simple best practices can make the process smoother and reduce the chance of unexpected issues.
Creating a restore point or full system backup before making significant changes is always recommended. While repair commands rarely cause data loss, having a backup provides peace of mind and allows you to recover quickly if another problem arises.
Always run commands from an elevated Command Prompt or Windows Terminal with administrator privileges. Without administrative access, protected system files cannot be modified, causing repairs to fail or complete only partially.
It’s equally important to avoid interrupting the repair process. Depending on the condition of your system and the speed of your hardware, some operations may take quite a while. Restarting the computer before completion can leave repairs unfinished and create additional complications.
Comparing Microsoft’s Repair Utility with System File Checker
Although both tools are designed to repair Windows, they focus on different parts of the operating system. Understanding those differences helps you choose the right tool for each situation.
The image servicing utility repairs the Windows Component Store, which acts as the repository for clean operating system files. If that repository becomes damaged, other repair tools may no longer have healthy files available for restoration.
System File Checker, commonly known as SFC, scans protected Windows files and replaces corrupted versions with clean copies from the Component Store. Because of this relationship, repairing the component store first usually improves SFC’s effectiveness.
For persistent corruption, Microsoft’s recommended workflow is to repair the Windows image first and then perform an SFC scan afterward. This two-step process resolves many operating system issues that either tool alone may not fully repair.
Tips for Getting the Best Results with DISM
Successful repairs often depend on using DISM correctly rather than simply running commands at random. Begin with CheckHealth if you only want a quick status report, move to ScanHealth for a deeper analysis, and use RestoreHealth when repairs are actually needed. This structured approach helps avoid unnecessary troubleshooting.
Keep your Windows installation updated whenever possible. Running the latest cumulative updates reduces the likelihood of component corruption and ensures DISM has access to the newest repair files through Windows Update.
Finally, remember that DISM is a repair utility—not a performance optimization tool. If your computer is slow because of startup programs, insufficient memory, or aging hardware, DISM may not improve speed. Its primary purpose is repairing Windows images and system corruption.
Conclusion
DISM is one of the most powerful troubleshooting tools included with Microsoft Windows. Whether you’re dealing with failed Windows updates, corrupted system files, damaged component stores, or deployment images, DISM provides professional-grade repair capabilities without requiring additional software.
Understanding the most common DISM commands—including CheckHealth, ScanHealth, and RestoreHealth—allows you to diagnose and repair many Windows problems quickly. Combining DISM with System File Checker provides one of the most effective methods for restoring a damaged Windows installation while preserving your personal files and applications.
Whether you’re a casual home user or an experienced IT professional, learning to use DISM is a valuable skill. The more familiar you become with its commands and repair options, the better prepared you’ll be to solve Windows problems confidently and efficiently.
Frequently Asked Questions (FAQs)
1. What does DISM stand for?
DISM stands for Deployment Image Servicing and Management. It is a built-in Windows command-line tool used to service, repair, and manage Windows images.
2. Is DISM safe to use?
Yes. DISM is developed by Microsoft and is considered safe when used with the correct commands. It repairs Windows system components without affecting personal files.
3. Should I run DISM before SFC?
Yes. If Windows corruption is suspected, it’s generally recommended to run DISM /RestoreHealth first and then run sfc /scannow afterward.
4. Does DISM require an internet connection?
Not always. By default, DISM may download repair files from Windows Update, but you can also use a Windows ISO file as the repair source.
5. How long does DISM take to complete?
The duration depends on your hardware and the condition of the Windows installation. Most scans finish within 10–30 minutes, while larger repairs may take longer.
6. Can DISM fix Windows Update errors?
Yes. Many Windows Update issues are caused by corruption in the Windows Component Store, which DISM is specifically designed to repair.
7. Does DISM delete my files?
No. Standard DISM repair commands are designed to repair Windows system files and components without deleting your personal documents, photos, applications, or other user data.